Goal of this tutorial is to to do a simple WordPress page with sampVR.
OK. Here we go. Less reading, more doing.
This tutorial is intermediate level: You will need knowledge of WordPress, HTML, JSON and Javascript. Probably some PHP too.
First, install WordPress on your server. I mean just go ahead, make my day.
After this, go ahead, continue
For the Post Type Slug, enter vr_images — this is the URL slug WordPress will use.
For the Plural Label, enter VR images
For the Singular Label, enter VR image
5. IMPORTANT: Scroll down to the Settings area and find the Show in REST API option. By default, this is set to False. If you don’t change it to True, you will not be able to query this CPT using the WP-API.
6. “REST API base slug” option enter vr_images
At the bottom of page click Add Post Type.
Now you should see VR Images on left side navigation:
Scroll down until you see the Location box. Set this Field Group to only show if Post Type is set to vr_images:
Next add fields. You will need to add Latitude first by clicking +Add Field:
Field label: Latitude
Field name: lat
Field type: Number
Then add Longitude:
Field label: Longitude
Field name: lon
Field type: Number
Most importantly you will add image field:
Field label: VR image
Field name: vr_image
Field type: image
Preview size: Full
Finally click Publish.
Now you should have a page that looks like this:
ACF to REST API
Now that we have our Custom Fields, we need to expose them to the WP-API. ACF doesn’t currently ship with WP-API support, but there’s a great plugin solution from the community called ACF to REST API. All you have to do is install and activate it, and it will immediately expose your ACF custom fields to the API.
Install this.
That’s it, no more installing plugins.
Now, let’s add some content
I have written a PHP code that extracts EXIF data automatically from Ricoh Theta V images (sampVR/assets/exif.php). I don’t know if other cameras store exif-data in similar way. But the main thing is to get location data out of these jpgs. Or just put it down manually. Which we are going to do now.
Click VR Images on left navigation and then Add new. Fill in the form.
For example:
Title: Image One
Description: Hello world.
Latitude: 60.218103
Longitude: 25.000381
Repeat this step as many times as you have VR images. I would recommend using Open Street Map for getting latitude and longitude as it is very easy to use. Just click right mouse on any location and select “Show address” and kazam! there it is on left side of the page. Just beware that sometimes Open Street Map shows longitude first, so just double check always correct data.
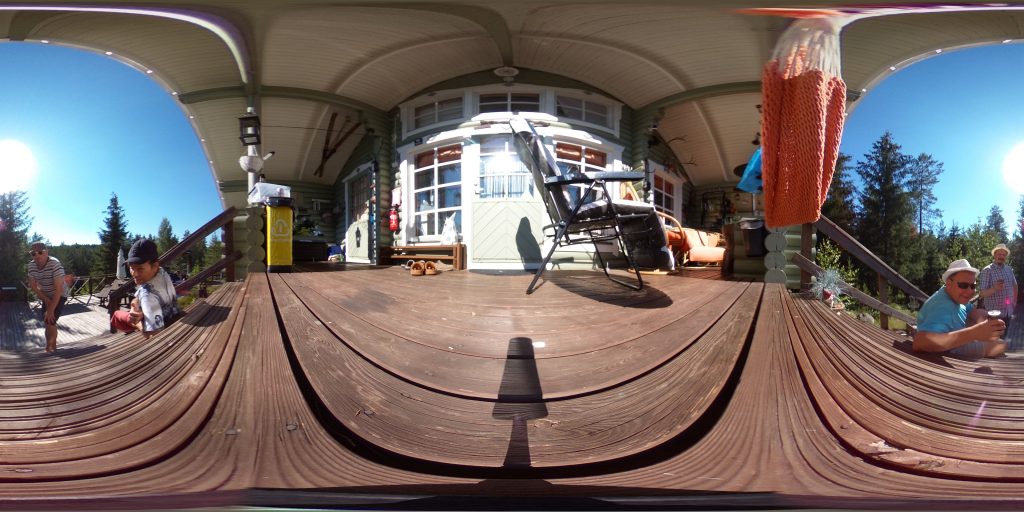
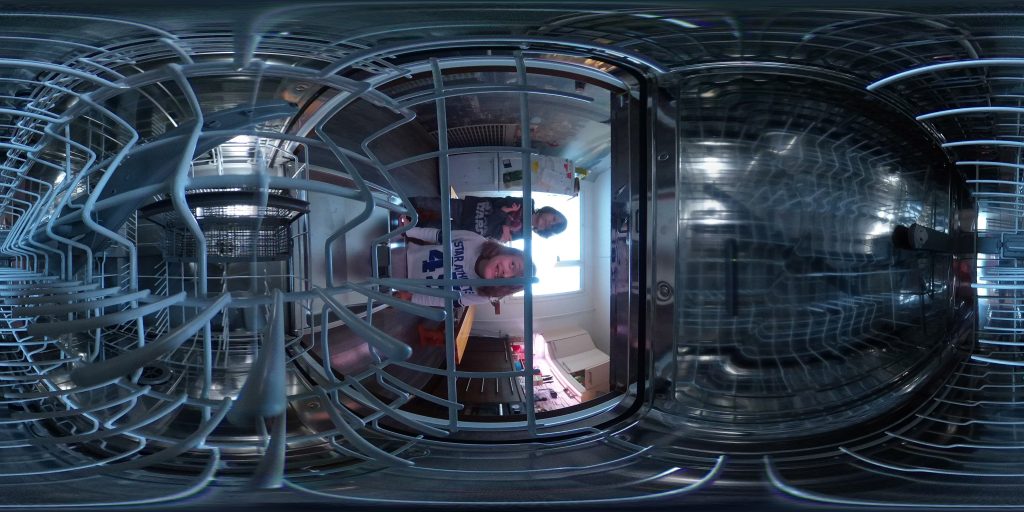
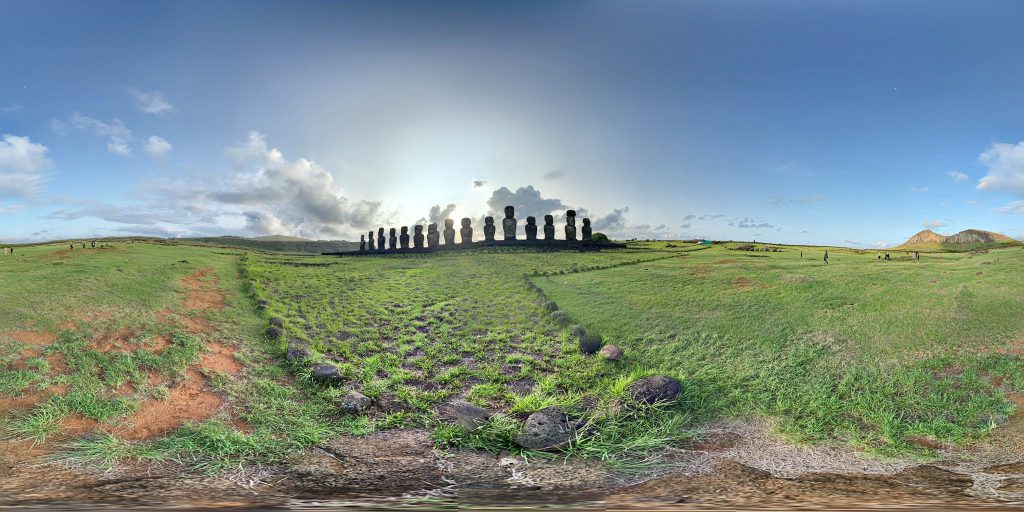
And then for VR image down bottom I uploaded an equirectangular image taken with Ricoh Theta V. Any image can be used but aspect ratio has to be 2 to 1. Best result is achieved of course with real VR image.
Adding sampVR to WordPress
First add css links to theme/header.php file in your WordPress installation. I strongly suggest you download a local copy of sampVR as it is currently in heavy development and changes frequently. This example uses development version of sampVR.
Download sampVR
Create a page or post in WordPress and add following HTML there.
Make sure ID matches with playerElement variable in sampVR.options (sampVR.options.playerElement = ‘#sampVRcontainer’;)
<div id="sampVRcontainer"></div>
Results are in!
Simple WordPress page with sampVR here.
Annnnd that’s a VRap!
If you have questions or comments, please leave them here.